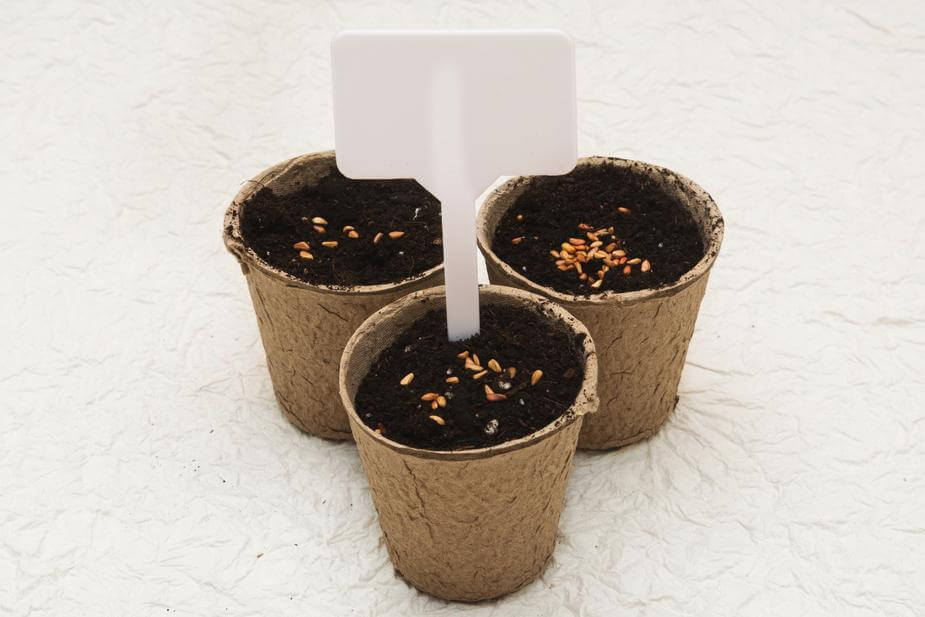
With spring in full-swing, it’s a perfect time to teach children about growing food. This makes a wonderful biology lesson, since gardens involve so many facets of nature. It also teaches children the value of food, and where our food comes from. Plus, it’s a great reason to spend time outdoors, and to teach children about ways they can be responsible (by doing simple garden chores).
Below are preschool activities to start, grow and maintain an edible garden with your classroom, or even at home.
1) Start with microgreens using beans, lentils, and other quick-sprouting foods
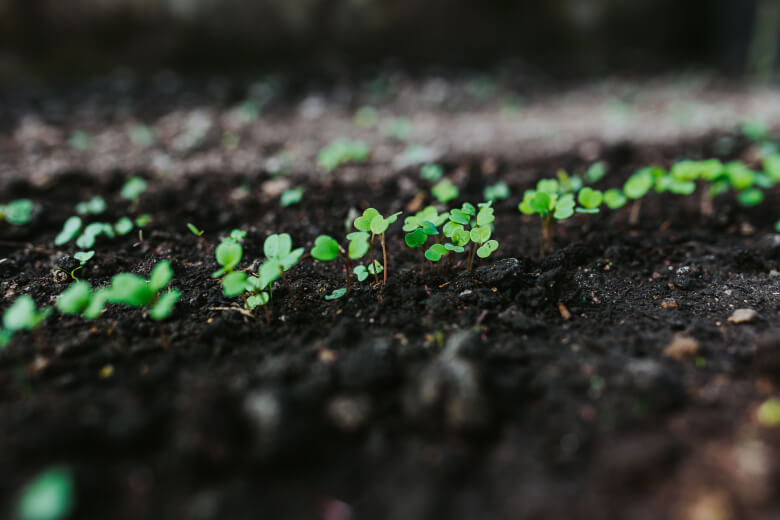
Teaching preschoolers about how plants grow is best with visuals. You can germinate several foods from the grocery store easily. All you need is water and some easy-sprouting beans, dry peas, lentils or grains. In fact, even sunflower seeds, pumpkin seeds, spice seeds, peanuts and popcorn can sprout (if they haven’t been treated, or heated to not sprout).
The thing that makes this easy to do with beans is that when they are soaked, you can watch a good-sized root start to come out of its shell.
Soak these in a clear jar with water for about a week. Drain and replace the water every day, to avoid mould and rotting.
An alternative is to do this in a wet paper towel (but it has to stay wet).
You can also plant these seeds once they have sprouted, so the kids can see what happens next. If you fill the jar with a sponge or wet paper towel, you can leave the sprout on the glass edge of the jar, and watch its progress as it turns into a plant! Of course, Pinterest has plenty of photos of this, if you want to see how it works. Here is one example. Another creative way to keep watching the plant’s progress is to grow seeds in zip lock bags, then tape them to a window, like this teacher did.
The other option is to fill a well-draining tray, such as an egg carton, with little seedlings, and then eat them as microgreens.
Here is a video of fast-growing plants you can eat, including as microgreens: https://www.youtube.com/watch?v=jEt_120VEAM
2) In soil, plant fast-growing plants with slow-growing plants, so you can reap your harvest for a longer season
If you have a raised planter, a yard or some other garden ‘dirt’ space to create a veggie patch at preschool, you can start planting seeds outdoors when the weather starts to warm up (around April or early May, for the Pacific Northwest). You can do this by seed starting indoors in early spring, or by direct-sowing seeds into the ground. There are several planting charts and calendars you can find online, to know the best times to start different types of seeds. Some may even start in February!
To learn how to start a garden in a variety of ways, including a no-dig garden, watch this helpful video: https://www.youtube.com/watch?v=hUqkZLSOdm0 (you can even plant into a hay bale!)
Probably the easiest, and fastest veggie to grow is radish. These seeds turn into ready-to-eat vegetables within about two weeks. It’s a great way to teach kids what happens when they plant seeds, in a time frame they can remember! These veggies may be a bit strong for kids to taste, but the less-intense leaves are also edible, if cooked (they are fuzzy and a bit prickly when uncooked).
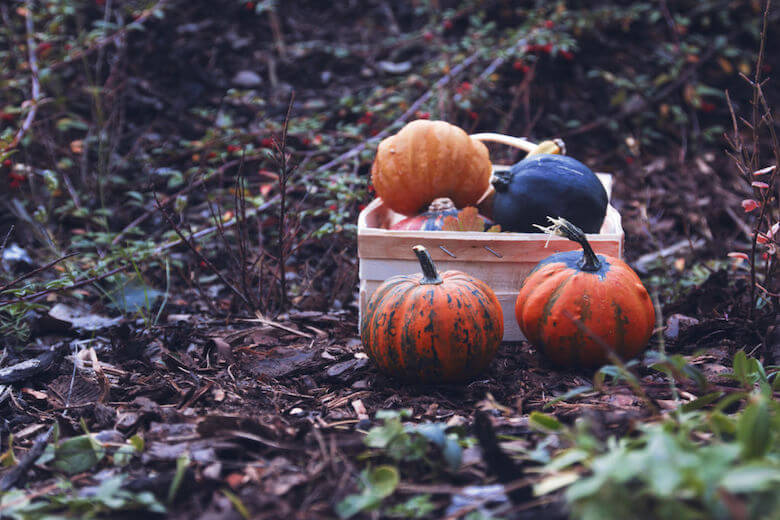
In addition, try planting seeds that take some patience. For example, a mix of root vegetables, like carrots and potatoes, that children can’t see under the ground, until it’s harvest time. But then also add in some fun ones, like pumpkins, which grow huge and large, and are ready by the fall.
In between the fast and slow growing plants, your class can plant kale, lettuce, bok choy, chard and other leafy greens. These grow within a few months, and can be harvested in between your slow and quick edibles.
Herbs are also useful for teaching kids about gardening, and they don’t take up much space. Perennials will grow with little maintenance, such as chives, mint and rosemary. You can also grow roots by cutting, and soaking stems in water (change the water every day). The children can see how determined the plants are to grow! If they can’t grow from a seed, or a mother plant, they’ll grow from a stem! Afterwards, each of your preschoolers can have a plant to take home!
Strawberries are also a perennial that require very little maintenance. They produce runners, which you can use the ‘water trick’ for, and also send children home with a fun, edible plant.
3) Make bird feeders and bug hotels as crafts, to attract pollinators and beneficial insects
No garden works without pollinators! In this lesson you can teach your preschool classroom about the wonderful world of insects and pollinators, like birds. Make bug hotels to invite bees, butterflies and other insects to your garden. Attract the birds with food they love.
Bug hotels can get fancy (you can even purchase them online). Essentially they are made of little crevices and natural materials for bugs to live in. Rolled up paper and pine cones in a box can work, as seen here. But they can also be made with recycled materials, as shown here.
For birds, like hummingbirds seeking nectar, you can make bird feeders with bird seed or nectar recipes. The craft ideas for this abound if you search online. For example, you can attach the seeds to pine cones or toilet paper rolls, using peanut butter as your ‘glue.’
The only issue you may have with this craft idea is bees making a beehive near your play area. Make sure your children don’t get so close they are in danger of being stung, especially if they are allergic.
4) Start a worm farm and composting bin with preschoolers
An absolutely useful and fun thing to do with a classroom of preschoolers, is to start a worm farm. This is surprisingly easy to do, and it yields highly beneficial compost to help plants grow. It also teaches children about nature’s own recycling process, and how we can help it along.
In case you’re worried about a compost getting stinky and attracting pests, don’t worry; a properly working compost won’t stink. For that, however, you’ll need to learn a few basics, such as ensuring air flow, and feeding your compost properly.
Start with a large, dark, plastic storage bin. Use a drill to create a row of quarter-inch holes near the top side edges, and on the bottom (if you’re doing the stacked method). Fill your bin with a base layer of cardboard. Then follow with what gardeners call ‘green’ and ‘brown’ materials. This is a bit confusing because ‘green’ and ‘brown’ don’t necessarily refer to colour. This article explains why. The point is, you want to mix your carbons and your nitrogens.
Layer it up with shredded paper (like newspaper or craft paper, but nothing glossy). Add ripped up egg cartons and cardboard, dry leaves, and then greens like fresh veggies or weed-free grass clippings.
Don’t add meat, dairy, citrus or onions to your bin. Those will stink things up.
Where do you get your worms? This is an important thing to know: not all worms are composting worms! Earthworms, which we commonly know, are deep feeders. They don’t like coming up to the top. What you want are a species of worm called red wigglers. To ensure you have the right kind of worm, you can buy these on Craigslist from other worm farmers, or in bait shops.
Add a half-pound of worms to your bin, close up the bin with a tight lid, and let them chop away!
As time goes by, you can teach the children about saving food scraps, how to divide their garbage and so on. Do this alongside your classroom recycling program.
Occasionally, you can open up the worm bin to show the children the rotting food, and the progress the worms are making. When the weather is warm, the worms will multiply. At that point, you can either release them in the garden, start new bins, or sell them.
Note: you’ll need to separate out the worm castings, which usually fall to the bottom of the bin. Then, add new ‘food’ material as volume replacements to the bin. Harvest the worm castings every few months, and sprinkle them in the garden, to fertilize the plants naturally.
A better explanation, with fuller instructions on a multi-bin system, can be found here: https://www.youtube.com/watch?v=UaajjQ0FhM4 (though there are one-bin methods you can find online, too).
Plus, we found an educator who has a full guide on starting a garden for school kids, including a composting lesson, here.
5) Regrow veggies from kitchen scraps on a window sill at preschool
Did you know that some of the veggies you buy at the grocery store can be regrown in just water? Examples include green onions (spring onions), carrot tops, lettuce, bok choy and even sweet potatoes (yams). In fact, some herbs can grow roots from cuttings, like mint stalks and basil stems, when placed in water (mentioned above). Be sure to change the water daily in all of these cases, to avoid rotting.
The purpose of doing this with your preschoolers is to teach them about root systems. Especially with green onions, the roots at the bottom of the stems will grow within a few days of being in water. You can use this to show children how plants take up water and nutrients from their roots, which then feeds the plant.
Alongside the ‘regrow’ project, you can also show your preschool classroom the path that water takes to go up the plant and reach the leaves. The best visual for this is with celery and food colouring, as explained in this post.
Of course, plants still need sunlight for this to work! This is the process of photosynthesis, which you can also explain when you do this activity.
What plants can teach preschoolers: water your garden and it will grow!
Planting veggies can teach children some indirect lessons, too. For example, just like plants need water and air, so do we. But we also need nutrition, like good food, which plants get from the soil. When we take good care of our plants, they give us healthy fruit, which is a service to us (by feeding us). The plant experience is similar to ours! We need our bodies and souls to be ‘healthy’ and then we can be a service to others.
Whether as a biology lesson, a recycling lesson, a responsibility lesson or as a symbolic lesson, getting your preschool classroom out into nature with a veggie garden has many benefits. Have fun, and see how long you can keep your harvests going!
